I’ve been wishing for a way to compost, since we’ve been eating more fruits and vegetables, and it seems such a shame for all those wonderful scraps to go to waste. But since we didn’t have a yard, I didn’t think it would be possible for us to compost. Enter “The Environmentals” with this video:
All of a sudden, composting — specifically worm composting was something achievable. Call me a dork if you want, but I was thrilled!
Step 1: Acquire the Materials
I decided I would make my worm bin exactly the same size as the one in the video, so my first stop was the hardware store for two 10 gallon plastic storage bins ($14), a few bricks ($2), some screen ($3), and a glue gun ($10).
I already had a drill, a box cutter, and some newspaper.
The next stop was ABC Composting for a pound of red wiggler worms ($30).
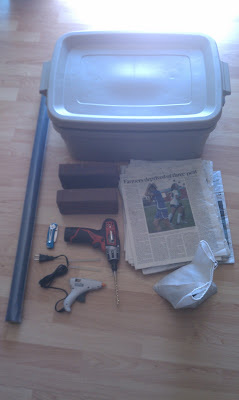
The materials
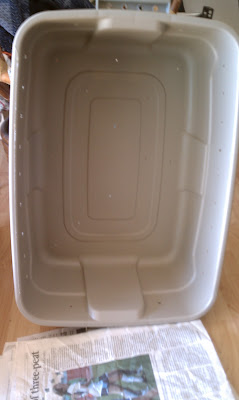
Step 2: Make the Bin
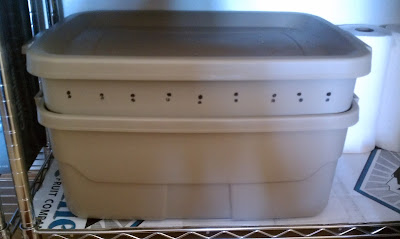
I drilled 1/4″ holes in the sides of the top storage bin, as well as in the lid, for air flow. I drilled 1/8″ holes in the bottom of the bin, for drainage. One of the sites I found suggested making the drainage holes smaller so the worms wouldn’t fall through.
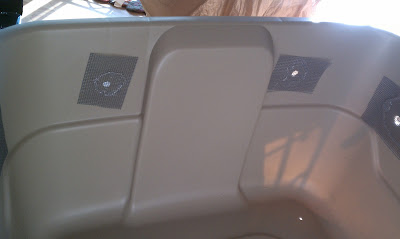
I glued squares of screen to cover the air holes to keep the worms from escaping.
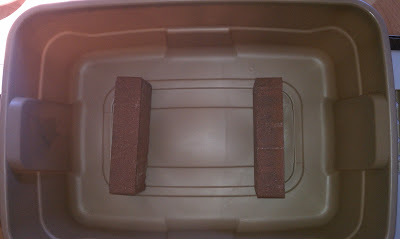
I placed two bricks in the bottom, non-holey bin so the top bin would have something to rest on (this promotes air-flow under the top bin, which is good, apparently).
Step 3: Filling the worm bin
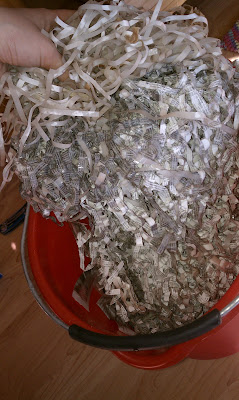
I cut my newspaper into thin shreds and damped it down (not soaking, but damp).
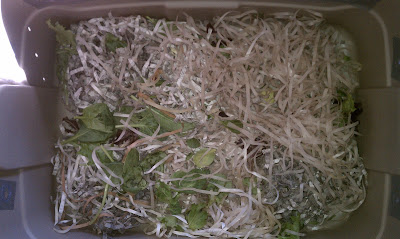
I then mixed in some food scraps I had collected yesterday and the day before…
… and added my worms.
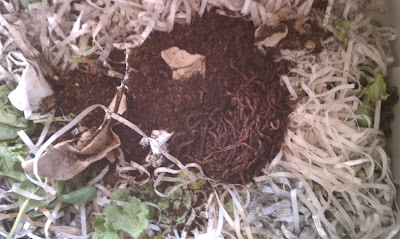
Don’t they look happy?
Step 4: Find Your Worm Bin a Home
I re-organized my “pantry” (read: metal shelf in the dining room because our kitchen in tiny), clearing off a shelf on the bottom so the worm bin would have some place to be.
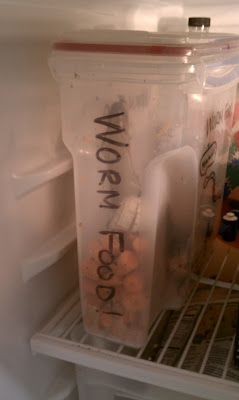
I also made myself a Worm Food container that I can keep in the fridge (so the compostable scraps don’t smell before they’re fed to the worms):